
|
|
|
|
|
v ----- Advertisement -----v
^ -----Advertisement ----- ^
|
|
|
|
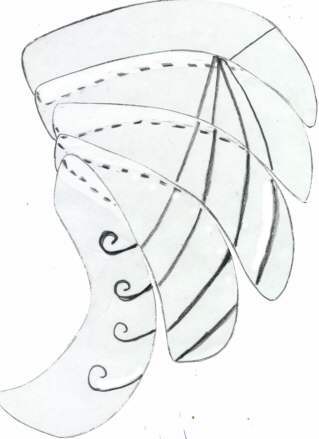
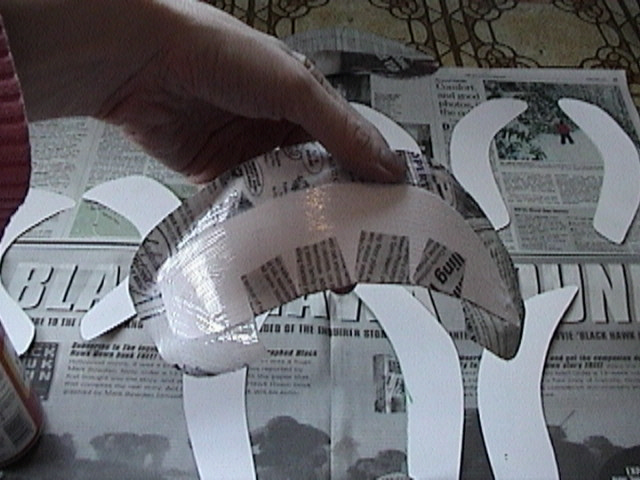
The basic pattern for the shoulder bellsNote: that even exhibit and movie references are not identical so pick which reference you wish to use. You may either print out the templates I have constructed, or create your own. I recommend printing them, cutting them out and then taping the templates together as seen above. Then hold them up to your arm to see if they look right. If you do your own, it will be helpful to mark which 'leaves' go wear before you separate them. I had drawn the swirl on and used that as a map, but numbering or naming could work too.
|
 |
Top two pieces , full sizeI did my best to make them print at the correct size, but even so, mine were made to fit me so some size adjustments may be necessary... |
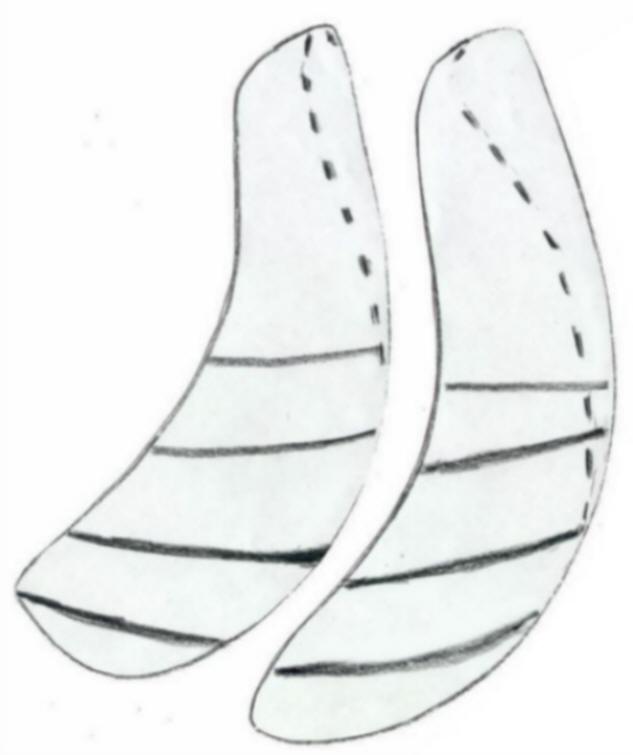 |
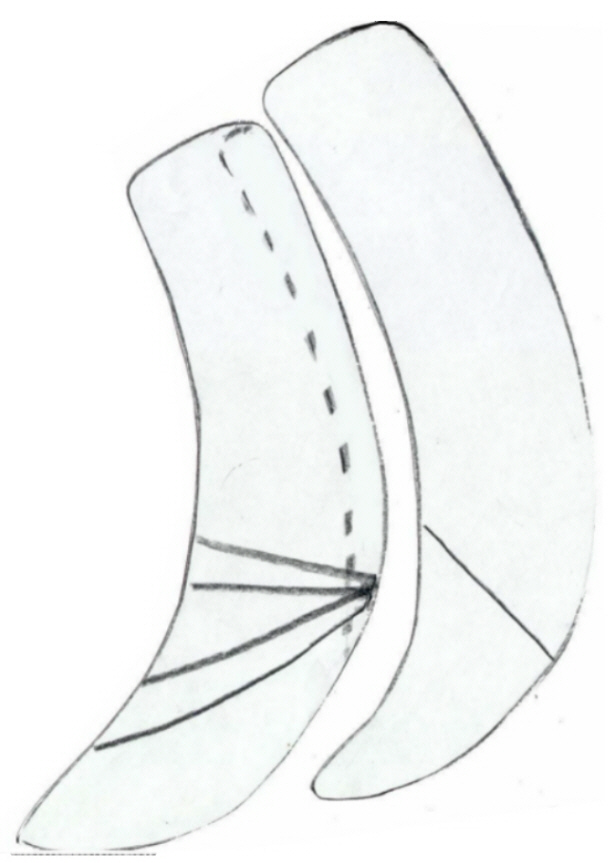
Middle two pieces, full sizeThe dashed lines represent the approximate overlap. The solid lines will be the raised design on the armor pieces. |
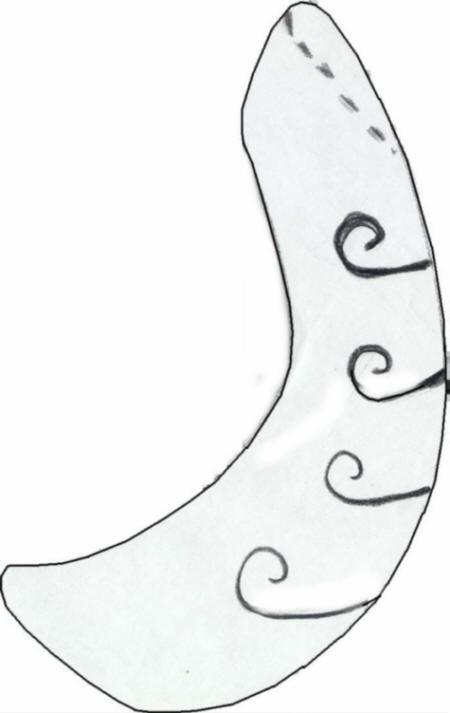 |
Bottom piece, full size |
Construction Steps |
|

|
Cut out two pieces of posterboard for
each leaf. Out of newspaper cut 8 pieces 1 inch larger than the pattern and 8 pieces 1/2 inch smaller than the pattern. In the picture above you can see I kept the newspaper with the correct posterboard. If you do them all at once like I did you'll find this crucial. They are so close in size and shape that often it's hard to tell them apart. (I recommend making at least one extra leaf to experiment on later with the raised design and paints) |
|
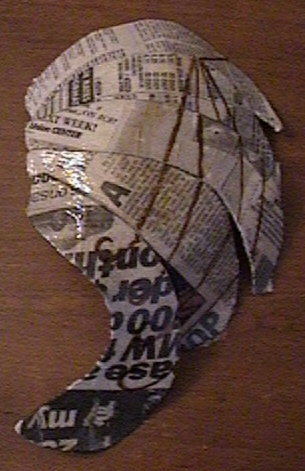
First brush a coat of Mod podge glue
onto the front of the posterboard leaf and smooth the larger newspaper
piece to it. Then brush on a coat of mod podge to the back of the leaf
and fold around the edges (cut in for a better fit around the curves). Brush a coat of Mod podge glue over the folded pieces and smooth the smaller piece of newsprint onto the back, covering the folded around bits. This isn't pictured- I ran out of batteries in my camera! But the smaller piece should fit snuggly and give you a good finish for the back. Flip it over and cover the front of the leaf with mod podge. I recommend setting it down and letting it dry for 10-20 minutes, bending it to the right shape as it dries. (It works out nicely because that's about how long it will take to get the rest of the leaves to this point!) Repeat this step until all the leaves have been built up and shaped properly.
|
|
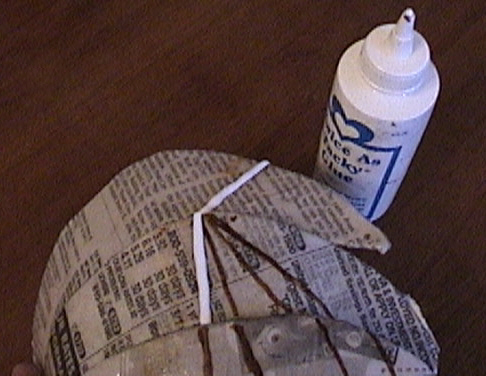
Using your paper pattern as a guide,
take the individual leaves and fit them together, securing with tape
that can be removed without damaging the surface. I say this because I
found it very challenging to get the pieces to fit properly. The pieces
should be stiff, but still slightly bendable.
Once you have the pieces fit the way you want them, coat the underside with modpodge right over the tape and lay strips of news paper onto it, building up the underside until it is smooth and the leaves are secured together. The lower leaf is the most challenging to get to stay. I found running several pieces of newspaper strips down the leaf gave it the leverage I needed to make it secure. I also used a bit of tacky glue along the seams, holding it until it stayed. Then I put another 4 coats of mod podge, smoothing it in with my fingers rather than using a paint brush- the paint brush leaves more obvious streaks. For the last coat, while the mod podge was still wet I dipped my finger in water and ran it over the entire thing. The coat was REALLY wet and dried without much if any streaks... Once it's completely dry, I'd wait for 4 hours to a full day if you can... draw the curves on the surface with a waterbase marker. (that way if you don't like what you drew you can simply wet it slightly and it comes right off. I used my sons crayola marker) |
 |
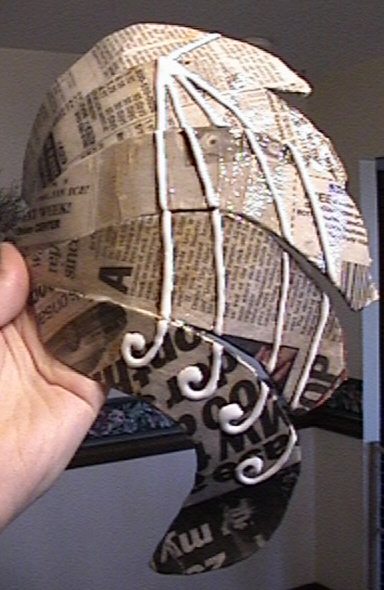
The decoration swirls were made using
tacky glue and letting it dry... But I've also heard that a glue gun can
work too.
The benefit of using tacky glue is that it wipes off with water when it's dry if you mess up and while it is drying it becomes moldable with a toothpick and smoothed with a wet finger so you can get the exact shape you want |
 |
Let these dry for another day if you can, checking on it for the first hour or so to make sure the tacky glue isn't spreading. It's thick so it shouldn't, but sometimes it does fall with gravity over a bit of time when it's put on so thick. |
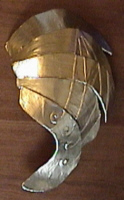 |
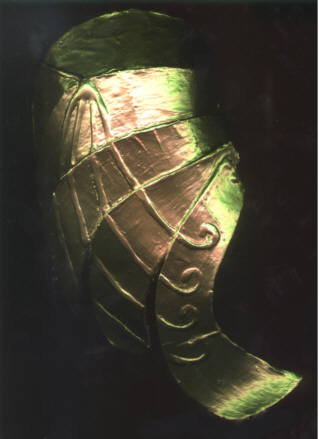
Two different painting techniques: Spray Paint with Kryon Gold Metallic and then thin coat of Bronze Metallic |
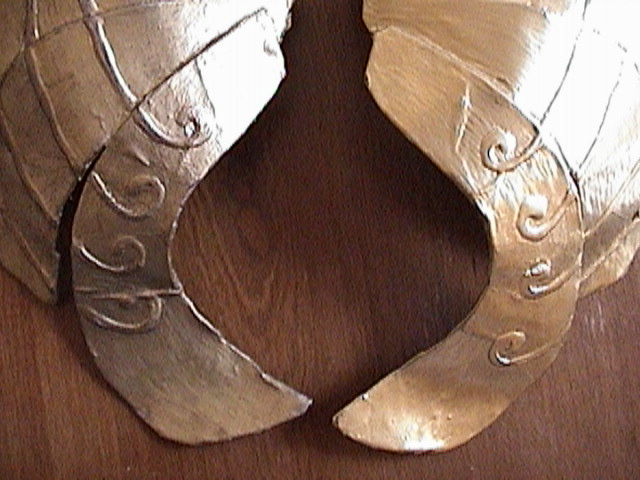 |
Kryon gold metallic paint...
The effect is nice, but not quite like the movie... I had asked for suggestions and heard that shoe polish might work. I used a redish brown and liked it on my test strips.
|
This will get you started making armor. Be sure to head over the Jedi Elf Queen's site to get instructions for making the helmet and more
v ----- Advertisement -----v
^ -----Advertisement ----- ^
This page was last updated 11/21/09